Pour Over Guide
With just an electric kettle, a dripper, and a filter, pour-over coffee brewing can produce a crisp, transparent, and refined cup of coffee. While this brewing technique can accommodate any coffee variety, we recommend using light to medium roasts with delicate acidity and a well-balanced taste. When appropriately executed, pour-over coffee brewing can offer some of the most outstanding coffee experiences.
What You’ll Need
Brewing a pour-over at home can be as cheap as $75.00 to get started (this excludes a grinder) or as expensive as $375.00 (includes a high-quality grinder and electric kettle with temperature readings). Even if you opt for the lower end of the scale to get started where you buy pre-ground coffee, a Hario V60, and a pour-over gooseneck kettle you can be all in for less than $75.00. Even with this rookie starter pack, you will get more exceptional cups of coffee than when relying on an automatic drip machine.- Grinder and whole beans or preground coffee
- Any pour-over device (We like the V60 or the Kalita Wave
- Pour-over filter paper
- Gooseneck kettle
- Scale
Important Factors
Grind Size
Medium coarse. You would adjust your grind size finer if your coffee brews too quickly and coarser if it brews too slowly.Brew Ratio
1 gram of coffee for every 14 grams of water for dark roasts and upward of 1 gram of coffee for every 17 grams of water for light roasts.Water Temperature
- Light Roasts: 203 – 212 degrees or right off boil
- Medium Roasts: 194 – 203 degrees
- Dark Roasts: 185 – 195 degrees
Water
Water represents 99% of the liquid in your cup so brewing with a good spring water makes all the difference.Coffee
Always brew freshly roasted whole-bean coffee and grind on demand. The optimal timeframe to brew and enjoy your coffee is 7 – 30 days past the roast date.Measure
Always time and measure your brews to understand better the outcome and one you can repeat our iterate on.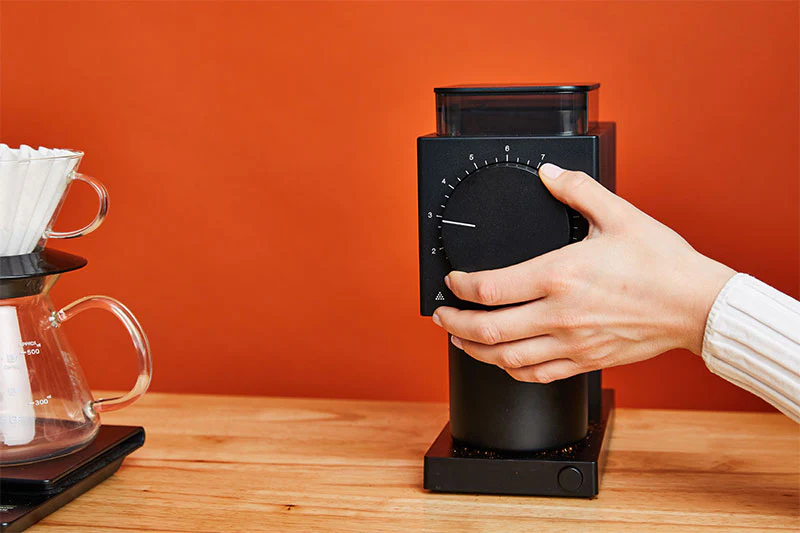
Step 1: Measure and Grind Coffee
Coffee amount: 15 grams Brew ratio: 1:15 (1 gram of coffee for every 15 grams of water) Your grind size and quality are crucial factors that will impact the length of your brew and the taste. For pour-over brewing, medium-coarse grind size is ideal for helping hit your target brew length of roughly 3:00 minutes. You will adjust your grind size finer if your brew length is too short and the cup comes out too sour. You will adjust your grinder coarser if your brew length is too long and the cup is too strong and bitter.Step 2: Rinse Your Filter
Place your brewer and filter on top of your mug or carafe and rinse the paper filter with hot water; otherwise, it will give off a papery taste. The added benefit of using hot water here is that it warms up your brewing device and mug as you prepare the coffee for brewing.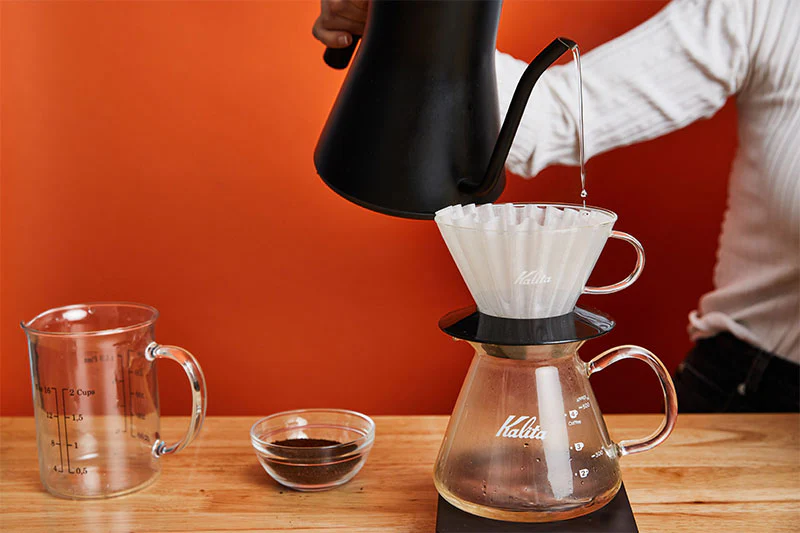

Step 3: Add Coffee and Heat Up Your Water
Water Amount: 240 grams (8.5 ounces) First, add your coffee into the filter, place it on the scale, and tare it out. If your scale also has a timer, you will start the timer in step 4. Next, heat 240 grams of high-quality spring water to the ideal brewing temperature for the roast type (hotter for light roasts, cooler for darker roasts).Step 4: Bloom
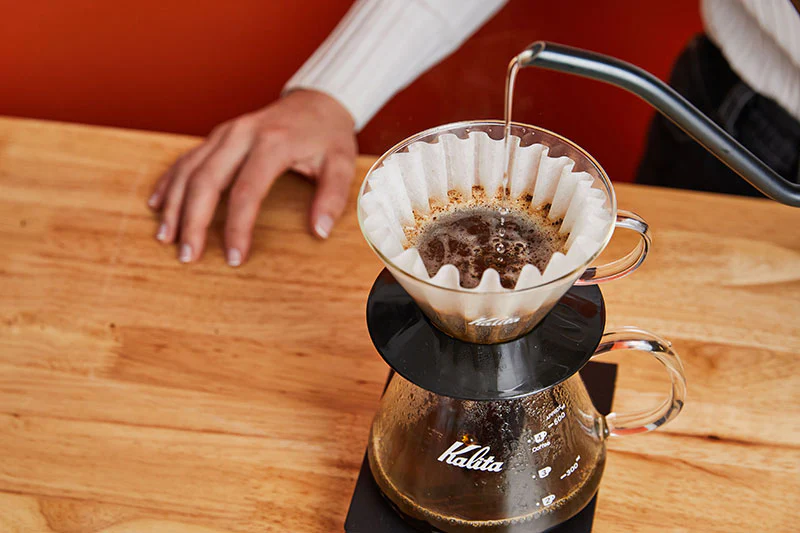
Bloom size: 45 grams (3- 4x coffee weight) Bloom length: 1:00 minute Your first pour is what is referred to as the “bloom.” The bloom allows your coffee to degas and helps with a more even extraction. If the coffee is fresh, you will notice the bed of grounds rises and bubbles during this step. For your bloom, we recommend 3 – 4x the weight of the coffee or 45 – 60 grams of water as your first pour. You want to ensure you saturate all the grounds in the bed of coffee, and you can even spin the brewer after the pour to help with the saturation. There are recipes recommending the bloom stage to last anywhere between 30 seconds and 2 minutes, and this is a great place to test what works best for the coffee you are brewing.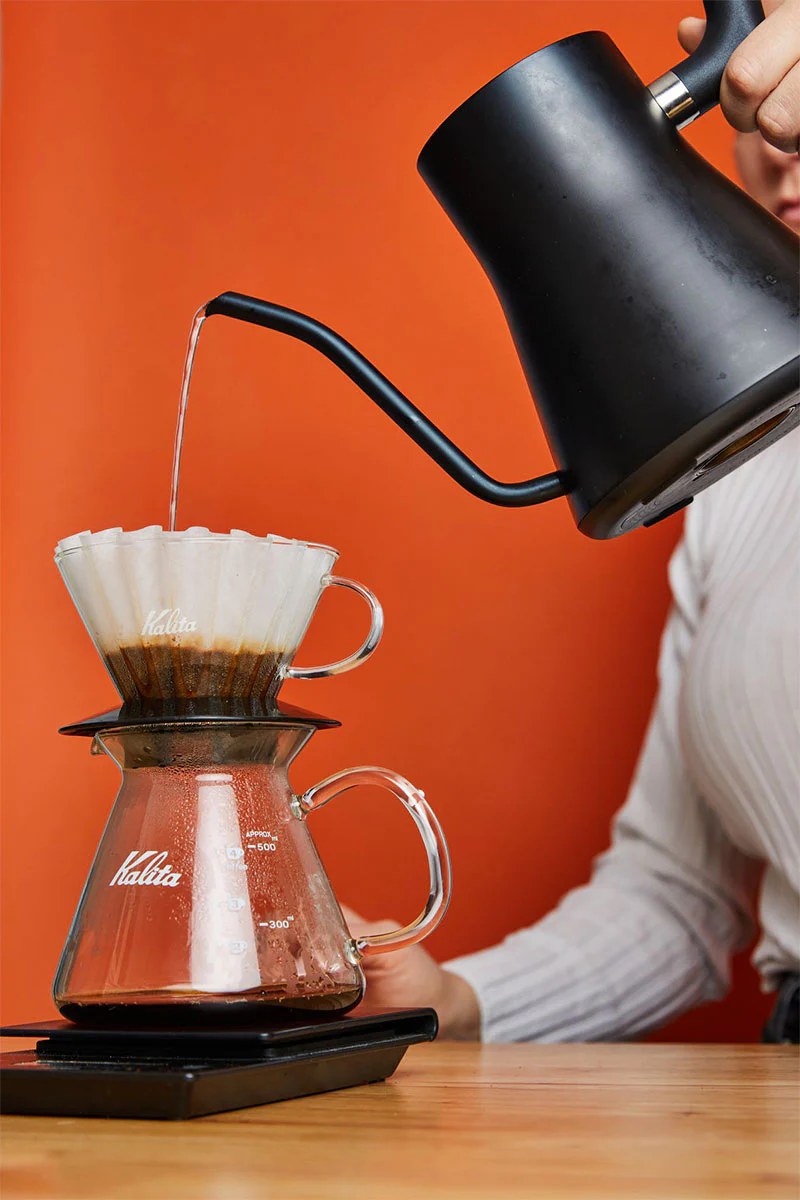

Step 5: Remaining Pour
Pour frequency: After the bloom is complete, pour the remaining water at 6-8 grams a second until you hit the final weight. If the coffee is draining too slowly, it is okay to swirl the bed of coffee to help improve the flow rate. End weight: 240 grams (8.5 ounces) End time: 3:00 – 3:30 There are a few ways of approaching your pour frequency, from one slow and long pour to pulsing your pour every 20 seconds. This is not a preference recommendation, as each pour type impacts your brew differently. We prefer the long and slow pour, where our brew ends around 3:00 minutes to 3 minutes and 30 seconds. The one benefit of the long and slow pour is that you keep the coffee grounds from cooling during brewing, which can help extraction.Step 6: Serve and Enjoy!
Bloom size: 45 grams (3- 4x coffee weight) Bloom length: 1:00 minute Your first pour is what is referred to as the “bloom.” The bloom allows your coffee to degas and helps with a more even extraction. If the coffee is fresh, you will notice the bed of grounds rises and bubbles during this step. For your bloom, we recommend 3 – 4x the weight of the coffee or 45 – 60 grams of water as your first pour. You want to ensure you saturate all the grounds in the bed of coffee, and you can even spin the brewer after the pour to help with the saturation. There are recipes recommending the bloom stage to last anywhere between 30 seconds and 2 minutes, and this is a great place to test what works best for the coffee you are brewing.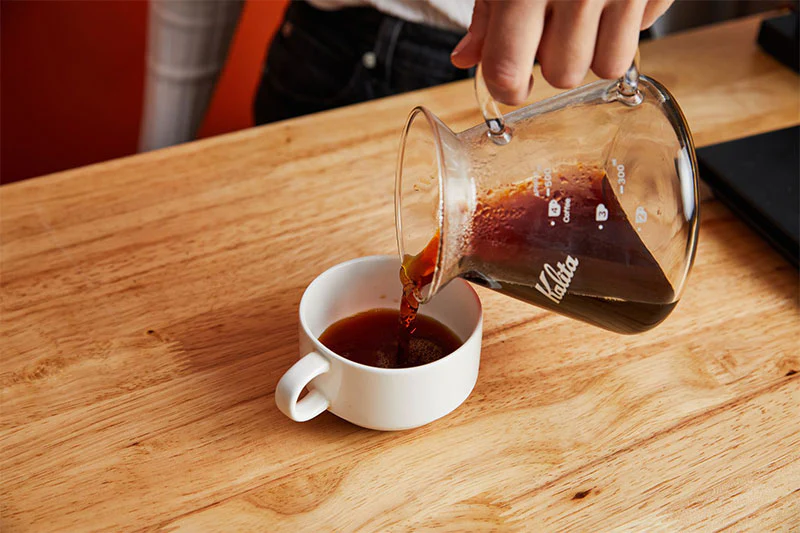
Browse our selection of Brewers
-
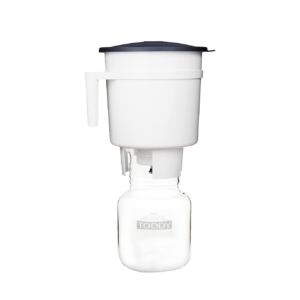
Toddy Cold Brew Coffee System
- Cold Brew
$49.00 CAD Add to cart -
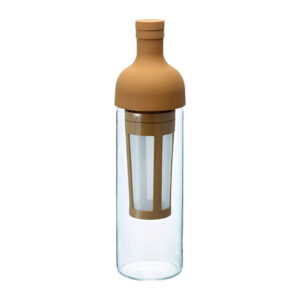
Hario Cold Brew Bottle
- Cold Brew
$28.54 CAD Add to cart -

Beginner Pour Over Set | Ode Gen 2 Grinder | EKG Kettle | Stagg [XF] Pour Over
- Equipment
$579.99 CAD Add to cart -
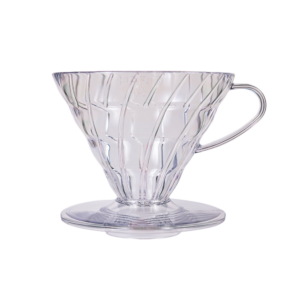
Hario V60 | Pour Over Coffee Dripper | Size 02 | Plastic (BPA Free)
$13.45 CAD Add to cart